There are several popular recipes out there for growing mushrooms but most of them are designed for Psilocybe and gourmet species, not Panaeolus.
The best recipe I’ve ever used for Panaeolus species was shared with me by a friend and it completely transformed my experience with agar work. It only uses three ingredients, all of which are inexpensive and easy to source.
What Panaeolus Need in an Agar Medium
Panaeolus species have slightly different nutritional needs than cubensis and other Psilocybe species. They do best on low sugar recipes that provide enough supplemental nutrition to support healthy growth without overstimulation.
Agar Recipe for Panaeolus Species:
- 10g agar
- 8g BRF
- .5g non-fortified nutritional yeast
- 500ml water
Tip: if you want your plates to be really clear, you can sub .2g of nutritional yeast extract or marmite in place of flakes.
Why I Love This Recipe
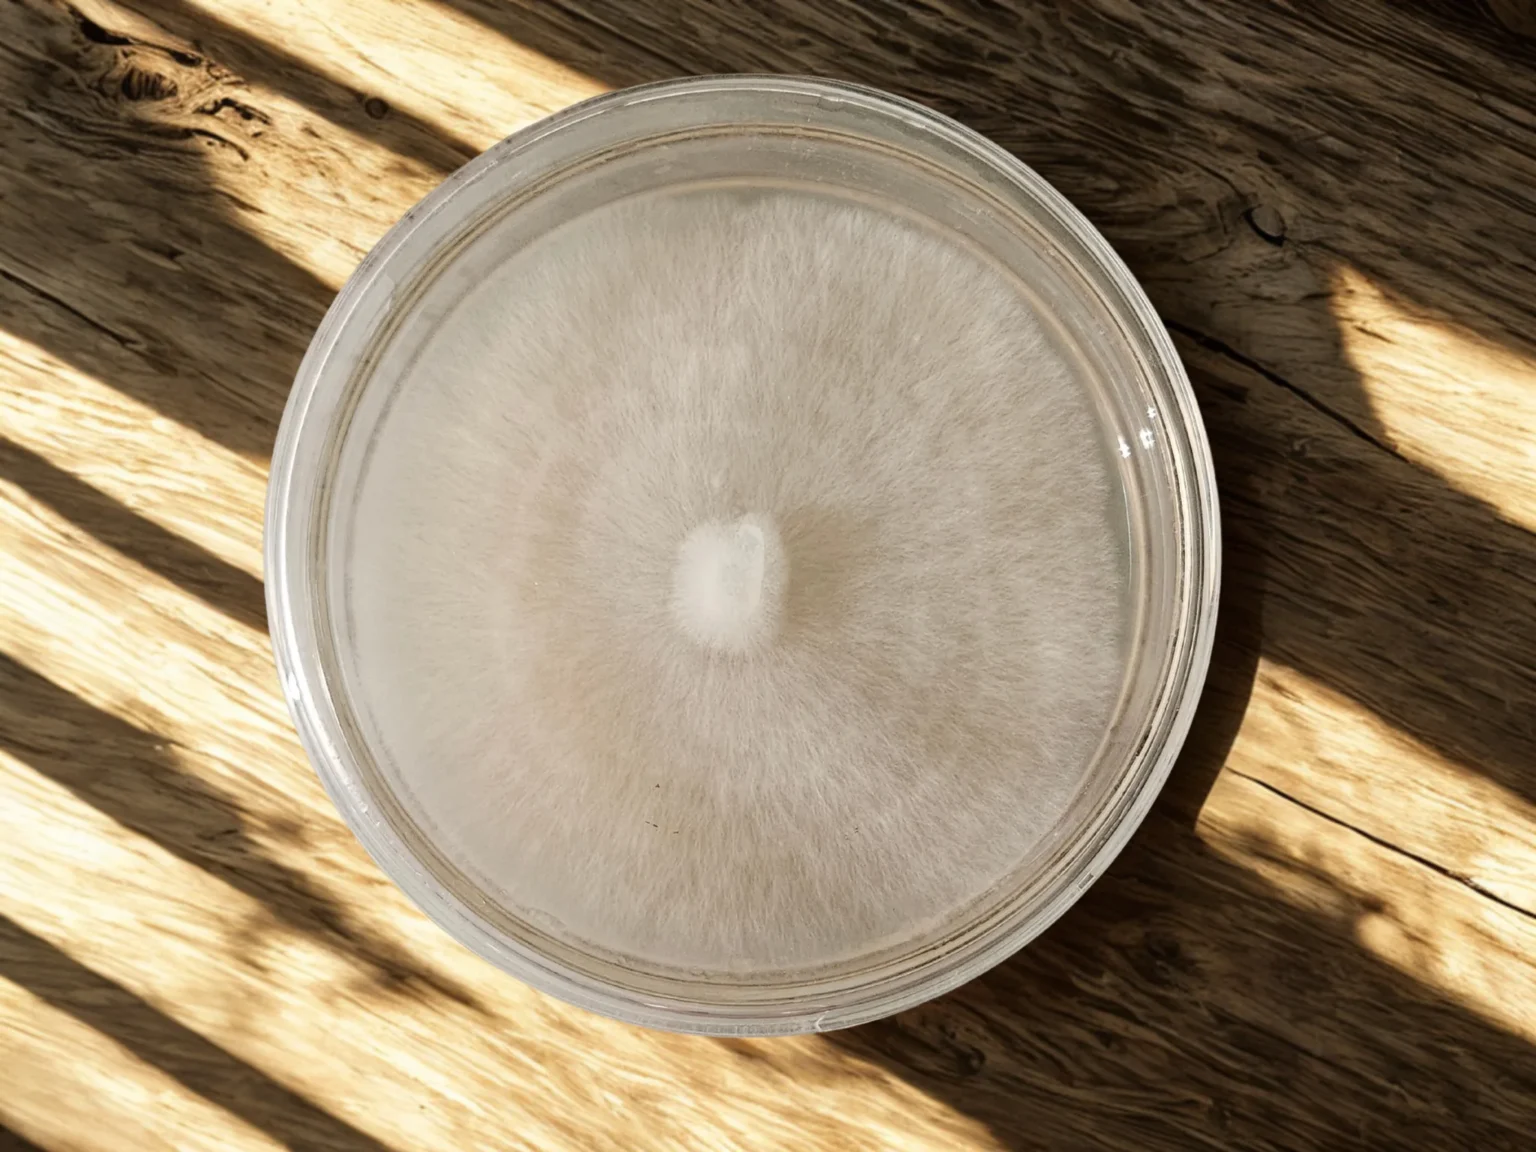
If you’ve ever tried growing pans on LMEA, PDA or MYA, you know how thick and fluffy the mycelium can get. Pan myc already hides mold and bacteria impressively well, and high sugar recipes just make it worse.
BRF, on the other hand, provides the perfect amount of nutrition to support a steady, single-layer of growth. Any unusual texture pops out immediately, making it easy to spot contamination. The low sugar content also stunts bacterial growth, which makes BRF agar a great medium for germinating spores and cleaning up cultures.
Food Coloring
If you like adding color to your agar, just make sure to avoid red or any colors that contain red such as purple and certain shades of blue. For reasons that aren’t entirely clear, mushrooms (especially pans), avoid it like the plague. Also, when it comes to food coloring, it’s best to use synthetic. I’m not someone who typically recommends synthetic ingredients, but when it comes to agar, natural coloring just doesn’t work very well. It can throw off the nutrient balance causing unsteady or stunted growth and often degrade in the PC making the colors ugly once dry.
What Psilocybe Needs in an Agar Medium
Psilocybe species prefer a medium with slightly higher sugar levels, so my recipe for them is a bit different:
Agar Recipe for Psilocybe Species:
- 10g agar
- 6g LME
- .75g non-fortified nutritional yeast
- 500ml water
Note: I know most recipes recommend 10g of LME but I’ve found 6g is plenty, especially when supplemented with nutritional yeast.
Tip: if you want your plates to be really clear, you can sub .3g of nutritional yeast extract or marmite in place of nutritional yeast flakes.
Best Agar Recipe for Germination and Cleaning Cultures
Adding a small amount of BRF to water agar provides just enough nutrition to support clear, visible growth vs 100% water agar, where the mycelium is so light, often times you can barely see it.
Agar Recipe for Germination and Cleanup:
- 10g agar
- 2g BRF
- 500ml water
How to Make Agar
There are two primary ways to make agar, both work well, it just depends on your setup and preferences.
- Traditional Method
With this method, you sterilize the agar first and then pour it into your plates after pressure cooking. - No-Pour Method
In this method, you fill your jars/cups/plates with the agar first and then sterilize them in the PC. It’s kind of ironic it’s called no-pour, since you’re still pouring, it just happens before you PC instead of after. People usually choose this method if they don’t have a flow hood since pouring in a SAB can be a bit difficult and unreliable.
How to Make Traditional Agar:
- Weigh your ingredients into a small bowl.
- Fill your media bottle halfway with cold water.
- Place it on the magnetic stirrer and turn it on.
- While it’s mixing, slowly pour in your ingredients using a funnel.
Mix until fully dissolved. - Boil enough water to top off your bottle(s).
- Carefully pour the hot water in using the funnel, and keep mixing for another 20–30 seconds.
- Once thoroughly mixed, screw on the lid, cover with foil, and pressure cook at 15 PSI for 25 minutes.
Note: With BRF agar, you’ll notice a lot of sediment in your bottle(s). That’s normal. Don’t stir it up after you pull it out of the PC, just let it settle while it’s cooling and then stop pouring once you reach the bottom. A little sediment in your plates won’t hurt anything but too much will stunt the mycelial growth.
How to Make No-Pour Agar:
- Weigh your ingredients into a small bowl.
- Fill your media bottle halfway with cold water.
- Place it on the magnetic stirrer and turn it on. (If you don’t have one, skip this step)
- While it’s mixing, slowly pour in your ingredients using a funnel.
Mix until fully dissolved. - Boil enough water to top off the bottle.
- Pour the hot water in, and stir or shake for another 20–30 seconds.
- Pour the mix into your cups, jars, or plates. (tip: since the ingredients don’t fully dissolve until PC’d, shake the bottle every 3-4 pours so they don’t settle to the bottom. If you don’t the first half of your plates may not set right right).
- Once poured, put the lids on and PC them at 15 PSI for 20-25 minutes.
Tip: I like to put a cooling rack at the bottom of the PC to elevate the plates/jars above the water. This helps prevent water from getting inside and also reduces staining.
The Best Plates to Use for Agar
Best Plates for Traditional Agar
For traditional agar, people typically use either plastic or glass plates. I personally love glass because they’re classy, sustainable and show off your mycelium beautifully.
Glass Plates
My favorite plates are 60mm and 100mm from Karter Scientific. You can buy full cases directly from Karter Scientific on their website or partial cases at a good price from Lake Charles Manufacturing on eBay. I’ve ordered from Lake Charles several times and have never been disappointed.
The biggest drawback with glass plates in my experience is cleaning them. It’s time consuming but worth it imo. To clean, I soak them in hot, soapy water overnight, rinse them off, and then lay them on a towel to air dry.
To sterilize glass plates, you can either stack them in a stockpot or Dutch oven, or wrap them in foil and bake at 350°F for 1 hour.
Plastic Plates
I know a lot of people prefer plastic plates because they’re convenient. Just use once and toss, and you never have to worry about cleaning. They’re also cheaper up front, though more expensive in the long run.
Bead Storage Containers
Bead Storage Containers are a good compromise between plastic and glass. They’re reusable, affordable, and easy to clean (dishwasher safe). The only downside is the frosted plastic, which makes them harder to see through.
Best Plates for No-Pour Agar
4 oz Mason Jars
When I was doing no-pour, these smooth-sided 4 oz mason jars and plastic lids were my favorite. They’re easy to see through, easy to clean (just toss them in the dishwasher), and the lids are made of a hard plastic that is both aesthetically pleasing and easy to drill through. The only downside is that you can’t see through the lid. They’re tall enough that you can see fine through the side though.
Condiment Cups
These will work if you’re on a budget, but I found them really frustrating to use. The plastic warps easily, the lids are hard to get on and off, and they’re an odd size. If you’re new to agar, they’ll work, but you probably won’t stick with them for long.
Storage and Shelf Life
Agar plates can last for several months, depending on how thick you pour them and how they’re stored. I keep mine at room temp in a storage bin, and they usually last for about 6 months. For longer term storage, you can seal them in plastic bags and keep them in the fridge.
To help keep things organized, you can use food coloring to color code them too. For example:
- Green = Psilocybe (LME)
- Blue = Pans (BRF)
- No color = Germination and Cleanup (Low Nutrient)
Common Issues and How to Fix Them
Most issues are due to simple mistakes in timing, temperature, or technique. They’re easy to overlook, especially if you’re new to agar, but also easy to fix once you understand what’s causing them. Here are the most common issues I see.
Agar is watery or didn’t set
This usually happens when the ratio of agar to water is off. The sweet spot is 10g agar to 500 ml water. Going over or under even a little can cause problems.
If you’re doing the no‑pour method, the ingredients don’t fully dissolve until they’ve been through the pressure cooker so it helps to shake your bottle every 3–4 pours to keep the mixture even. On top of that, I found it helps to fill the first half of your plates only half way and then circle back around and top them off with the thicker portion from the bottom.
Plates are full of condensation
Condensation forms when plates cool too quickly or are sealed while still warm. The ideal pour temperature is around 115 °F (46 °C). If you don’t have a thermometer, pour when the bottle is still warm but comfortable to hold without having to set it down every few seconds. As a rough guide, 500 ml bottles reach that temperature about 45 minutes after coming out of the PC, and 1000 ml bottles take about 60 minutes.
There is sediment in my plates
A little sediment is completely normal and won’t hurt anything, especially when using BRF or nutritional yeast. The best way to avoid it is:
- Don’t shake your bottles when you pull them out of the PC. Let the sediment settle.
- Use nutritional yeast extract or marmite in place of nutritional yeast flakes
- Stop pouring once you reach the bottom
- Or if you want really clear plates, you can strain the sediment before PCing.
There is slime growing on my agar
That slimy film is bacteria, most often caused by breathing over your plates, moving hands above open dishes or not wiping your hands down with iso. If you make sure not to hover over your plates and keep everything clean, your contamination rate should stay low.
Ingredients
- LME: Amazon
- BRF: Amazon
- Non-Fortified Nutritional Yeast: Amazon
- Nutritional Yeast Extract: Amazon
- Marmite: Amazon
- Water: tap water is fine
Supplies
Note: Pyrex is a bit more expensive but worth it imo. The glass is thick, they’re comfortable to hold, and they don’t overflow in the PC or leak when you pour like other brands I’ve used sometimes do.
- Scale: Amazon
- Magnetic Stirrer: Amazon
- Stir Bars: Amazon
- Pressure Cooker: Amazon
- Funnel: Amazon
- Waterproof Sharpie: Amazon
- Parafilm: Amazon
- Grafting Tape (cheaper than parafilm but not as flexible or sticky): Amazon
Agar Plates
- 60mm Glass Plates: eBay
- 100mm Glass Plates: eBay
- 4oz Mason Jars (for no-pour agar): Amazon
- Regular Mouth Lids (for 4oz and pint sized mason jars): Amazon
- Paper Filter Stickers: Amazon
- Bead Storage Containers (for no-pour agar): Amazon
Flowhoods
- Nothing But Air: nothingbutairsolutions.com
- Dichotomous Keys & Tools: biologicalconcepts.com
FAQs
Why is LMEA, PDA and MYA not ideal for Panaeolus?
Malt extract and Potato Dextrose are both high in sugar, which causes thick, fluffy growth. BRF supplemented with nutritional yeast or marmite, provides the perfect amount of nutrition for single layer growth which makes contamination easy to spot.
Can I use another flour other than BRF?
You can but it probably won’t work very well. BRF has the nutritional profile Pans need.
Should I use distilled water instead of tap?
Nope, no need. Tap water works just fine, even if you live in a place with hard water.
Can I reheat and reuse leftover agar?
Yes, but I wouldn’t reheat it more than once or twice.
Why non-fortified nutritional yeast?
I prefer non-fortified because it has a natural balance of vitamins and minerals. Fortified will also work fine, you’ll probably just to decrease the amount you use.
Do I need a magnetic stirrer?
It’s nice to have because it dissolves ingredients quickly and evenly, but its definitely not necessary. If you’re shaking by hand, just make sure to shake thoroughly.
Do I need a pressure cooker to make agar?
Yes. To fully sterilize the agar, you’ll need a pressure cooker that can reach 15 PSI. Regular boiling isn’t enough.
Can I skip the nutritional yeast and just use BRF?
You can, and it will work, but I’ve found Pans do better with it. It gives mycelium the supplemental nutrition it needs to be strong and healthy without causing overstimulation.